
How to Light Navy Dress Whites With Off-Camera Flash
The first frame after I pulled the blue gel off my main light was too bright. Diana was still standing in front of the same American flag, holding the same M1 Garand. I’d changed the color of one light and suddenly had a new exposure decision to make. That moment is a good place to start if you’re photographing a service member in a white uniform.
I’m Austen Hunter, an Air Force veteran and portrait photographer in Pensacola, FL. I made this private studio session with Diana, a Navy sailor and model, after the Navy’s 250th birthday inspired me to try a portrait with the feel of an ’80s movie poster. It wasn’t an official Navy shoot or a Department of Defense-endorsed project.
Key Takeaways
|
Give Each Light a Job
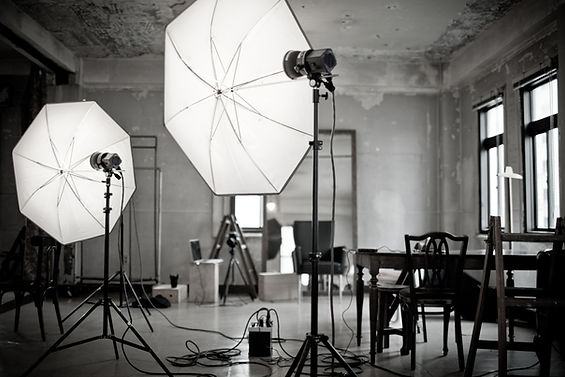
My key was a Godox AD600BM fitted with a 16-inch NEEWER beauty dish. That was the light I watched on Diana’s face. I used the dish with and without its grid. A curved reflector below her bounced light under her jaw. Behind her, my Godox AD200 fired through a 12 × 36-inch Godox strip box. Look for that light along her hair and the outside of her shoulder.
I shot these portraits with a Canon EOS R and my Canon EF 70–200mm f/2.8L IS USM. If you’re trying this with a different camera and lens, keep the framing the same from one test shot to the next. That makes the lighting change easier to see.
If you’re doing this for the first time, look at the front of the collar to see what the key is doing. Then look along the outside of the shoulder to see the kicker. Those two places tell you more about where the color is coming from than a list of flash settings does.
“White fabric makes a great lighting diagram. Look at the front of the collar and then the edge of the shoulder. You can usually tell which flash put the color there.” — Austen Hunter
Look One: Blue on the Face, Red on the Edge
In my earlier self-portrait, the area behind me was almost black. The blue across my face and the narrow red edge had very little to compete with. Diana’s background was a big red, white and blue flag. It stayed visible. With a blue gel on the key and a red gel on the kicker, the first thing I notice in her portrait is the color itself. Even her white cover looks blue.
I like that look when I want the portrait to feel theatrical. If someone needs to see the uniform clearly, though, the blue has a cost. It changes the color of the largest bright surface in the picture, right under her face.
Look Two: Take Blue Off and Keep the Red
I removed the gel from the beauty dish and left the red gel on the strip box. Look at the two finished frames below. Start at Diana’s cover, follow it down to the collar, then look at the outside of her sleeve. In the second picture the whites are recognizable, and that red edge still gives the rifle portrait some drama.

This is where I stopped and adjusted the flash. The blue gel had been absorbing light, so taking it off let more light from the key reach Diana. Both finished rifle frames were recorded on my Canon EOS R at 1/160 second, f/4.5, ISO 100. Those identical camera settings don’t tell you how bright the first test frame was or what I did at the flash. Look for detail in the white fabric and bring the key output down if the new test is too bright. The change you need will depend on your gel and your setup.
“Taking off a gel changes the exposure, too. Before I ask for another pose, I want a test frame where I can still see the folds in that white sleeve.” — Austen Hunter
Look Three: Let the Face Lead
I took the red gel off the kicker and we put the rifle aside. In the salute portrait, the strip box still gives Diana separation from the flag. It does that job without putting a red line on the uniform. I see her eyes first, then her hand at the salute, then the details of her dress whites. This is the treatment I’d choose for the service member who wants a record of how they looked in uniform. That frame was 1/200 second, f/5, ISO 100.

Three Lighting Looks: What to Check in Your Frame
Key Light / Rim Light | What to Look For |
|---|---|
Blue / red | Start at the white cover. It reads blue, just like the face. Choose this look when you want color to catch the eye first. |
Neutral / red | Check for folds in the white sleeve after the blue gel comes off. If they wash out, lower the key and test again. The red should stay at the edge. |
Neutral / neutral | Look where the hair meets the flag. A narrow highlight can separate the two without adding color to the uniform. |
What I’d Do on Your First Military Portrait
Before you turn on the flash, ask the service member to check their uniform, then look again from camera position. Diana and I checked her ribbons together. I also showed her how I wanted the arms folded. A small shift of a forearm can cover the very detail you took time to check. My guide to preparing military portrait clients covers that conversation before shoot day.
For a repeatable lighting exercise, keep your subject in one pose. Make a gelled frame, take the gel off the key, recheck exposure and make the second frame. Put them next to each other. Where does your eye go first? If the answer changes, you have a reason to choose one treatment over the other. You can practice this with a white shirt and a friend. The rifle belonged to this particular portrait concept and isn’t part of the exercise.
Questions About the Lighting
Do I Need Three Flashes to Get These Three Looks?
I used two flashes and a reflector. The three looks came from changing which flash carried a gel. The key shaped the face, and the strip box provided the rim in all three.
Which Look Would You Start With for a New Client?
I’d make a clean frame with neutral lights first if the client wants the portrait for their family or as a record of their service. Once you have that photograph, you can try color together and compare it with a frame you already know works.
For more on how lighting and direction work together, see my complete portrait photography guide. If you’re taking paid military portrait bookings, my editable session contract gives you a place to spell out the intended use of the photos and who will check the uniform.


Comments